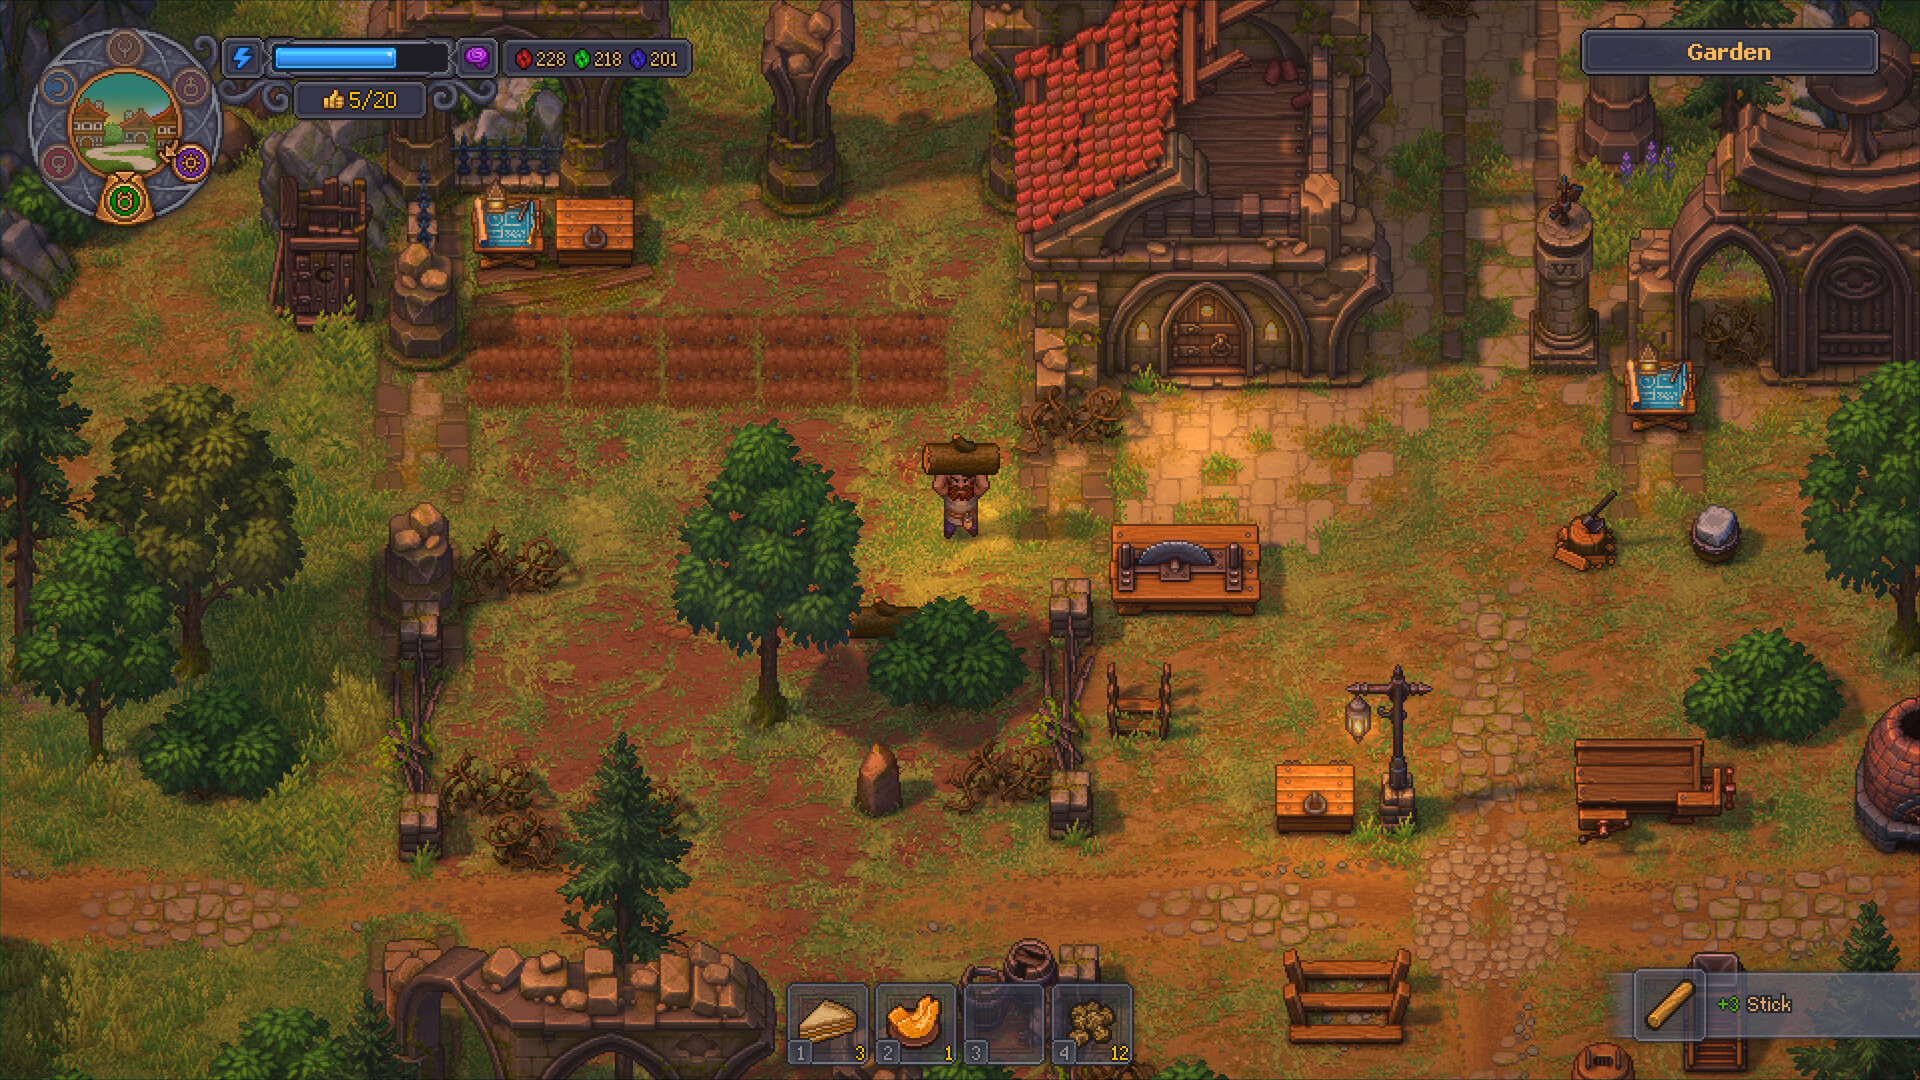
Graveyard Keeper 2 Guide: Best Skills and Talent Builds
The best skills and talent builds in Graveyard Keeper 2: the five perk trees, which perks to take first, and how to earn the points that pay for them.
Table of Contents
Graveyard Keeper 2 is a complex simulation that demands careful planning of your limited resources. Choosing the right perks is essential for any player looking to turn their cemetery into a thriving operation.
Whether you are struggling with energy management or trying to maximize your industrial output, this guide provides the blueprint you need. Understanding the nuances of the five talent trees—Building, Smithing, Farming, Book writing, and Anatomy—will prevent wasted points and ensure your progression remains steady from day one.
The Foundation of Growth: How Talent Points Work
Progression runs on two separate currencies. Perk-tree nodes each cost one tree-specific inspiration point (a Building inspiration point for the Building tree, and so on), while technologies on the tech tree are paid for with red, green and blue tech points — the whole tech tree costs 11,157 red, 5,129 green and 4,132 blue. Within a tree, you must also understand the distinction between Mastery upgrades and Perks.
Mastery upgrades are the bread and butter of your efficiency. While perks offer unique, permanent bonuses, mastery nodes allow you to finish tasks faster. As a rule of thumb, always prioritize nodes that reduce the "ticks" required for a craft, as time is your most valuable resource in the game.
Studying every item once across the game pays 4,760 red.
Green
Study Table, Fried golden carp (+50), Green Techbooks
Studying covers most of the tree's green cost.
Blue
Study Table, Marble Fence II (+15 blue), Kraken steak (+50)
Elder's meal grants +90 of each color (tooltip says 30).
Early Game: Establishing Your Efficiency
When you first arrive, your energy is low and your tasks are many. Focus on basic production efficiency before anything fancy.
In the Building tree, the "Axeman" and "Carrier" perks are non-negotiable early investments. They allow you to gather resources faster and move more items, which directly reduces the time spent on repetitive tasks. Meanwhile, in the Anatomy tree, investing in "Researcher" early on is vital. It allows you to study items with less energy, which is crucial for generating the tech points needed to unlock mid-game technologies.
Energy Management Strategy
Always prioritize perks that reduce energy consumption or increase gathering speed early in your playthrough. This creates a compounding interest effect on your daily energy budget.
Mid-Game: Specialization and Automation
As you move into the mid-game, your priorities should shift toward industrial output. At this stage your priorities should shift toward the Smithing and Farming trees.
In the Smithing tree, "Blacksmith" and "War Engineer" boost component output — with War Engineer, Bronze Gears craft 4 instead of 3 at the anvil and Engineering Details come out 3 instead of 2 at the Furnace II, which is the backbone of base expansion. For Farming, "Farmer" and "Compost Chemist" keep the food supply consistent: Compost Chemist doubles Peat output at the Compost Pile (4 instead of 2) and improves fertilizer recipes.
Essential Perk Priorities by Tree
Building: "Axeman" and "Carrier" are the early tier-2 picks; "Carpenter" sits at tier 4 as a stronger commitment.
Anatomy: "Researcher" early (cuts Study Table energy from 6–32 down to 2–14 per study), then "Surgeon" deeper in the tree.
Smithing: "Heat Handler" follows "Blacksmith" and the Smithing mastery node on the path toward "Iron Will".
Late-Game: Optimization and Mastery
By the late game, you are no longer surviving; you are optimizing. Pivot toward the deep tree perks: "Wine Master" in Farming for the vineyard economy, "Monument builder" and "Grave Builder" in Anatomy for graveyard-quality scaling.
At this point, finishing the tech tree is mostly a Study Table job — studying every item once pays 6,080 green and 5,125 blue, more than the whole tree costs in those colors. For exact node costs and prerequisites, check the Graveyard Keeper 2 perk tree data.
Managing Your Tech Point Economy
Tech points are the lifeblood of your progression. While perks make you faster, tech points give you access to new, more efficient machines. You can earn these points through three main channels: studying items at the Study Table, manual crafting, and consumption of specific high-tier food.
Effective Tech Point Farming
Source
Efficiency
Recommendation
Study Table
High
Study every item at least once — it covers the whole tree's green and blue cost.
Crafting
Medium
Marble Fence I/II at the Stonemason's Workbench: +15 red (and +15 blue for II).
The perk tree lists no refund option, so plan your path carefully based on your current project goals before spending inspiration points.
FAQ: Frequently Asked Questions
How do I earn Blue points efficiently?
Studying items at the Study Table is the main source — it covers the whole tree's blue cost on its own. Marble Fence II adds +15 blue per craft, and Kraken steak or Elder's meal grant large direct bonuses when used.
Which perks pair well together?
Combinations matter more than single picks: "Farmer" with "Compost Chemist" covers the whole fertilizer chain, and "Blacksmith" into "Heat Handler" and "Iron Will" carries the metal economy. Read each tooltip before spending — some perks only modify specific recipes or stations.
What should I spend my first inspiration points on?
Pick perks that touch tasks you repeat every day — gathering, studying and staple crafts — before niche ones. A node that saves a tick or an energy point on a task you do fifty times a day beats a rare situational bonus.
Can I reset my talent points?
The perk tree data lists no respec or refund option, so treat every inspiration point as permanent. Planning your route through each tree before you spend is the safest approach.